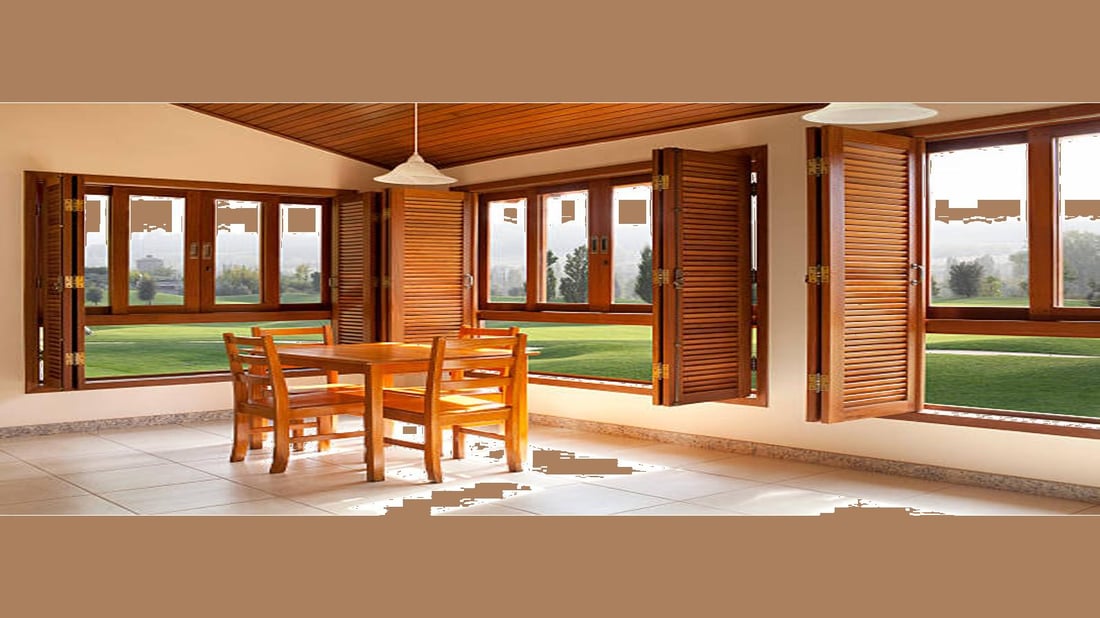
how to make window shutters: A Step-by-Step Guide
Window shutters not only add a touch of elegance to your home but also provide practical benefits such as privacy, light control, and energy efficiency. If you're looking to enhance the aesthetic appeal of your windows and add a personal touch, making your own window shutters can be a rewarding DIY project. In this article, we will guide you through the process of making window shutters, from choosing the materials to the final installation. Let's get started!
1. Gathering the Necessary Tools and Materials
Before diving into the construction process, it's essential to gather all the necessary tools and materials. Here's a list of what you'll need:
- Wood or composite material for the shutters
- Measuring tape
- Saw (circular saw or miter saw)
- Sandpaper or sander
- Drill
- Screws
- Hinges
- Latch or lock
- Paint or stain
- Paintbrush or roller
Once you have gathered these tools and materials, you are ready to move on to the next step.
2. Measuring and Cutting the Materials
Precision is key when it comes to making window shutters that fit perfectly. Start by measuring the height and width of your windows. Use these measurements to determine the size of your shutters. Remember to account for any overlapping or gaps between the shutters.
Next, mark the measurements on the wood or composite material and use a saw to cut the pieces accordingly. A circular saw or miter saw will give you clean and accurate cuts. Take your time during this step to ensure all the pieces are cut to the correct dimensions.
3. Sanding and Smoothing the Surfaces
After cutting the pieces, it's important to sand and smooth the surfaces to create a polished look. Use sandpaper or a sander to remove any rough edges or imperfections. Sanding also helps the paint or stain adhere better to the wood or composite material.
Start with a coarse-grit sandpaper to remove any large imperfections, and gradually move to finer grits for a smoother finish. Once you are satisfied with the smoothness of the surfaces, wipe away any dust or debris before proceeding to the next step.
4. Assembling the Shutters
Now that you have prepared the individual pieces, it's time to assemble the shutters. Lay out the pieces on a flat surface and align them correctly. Use a drill and screws to secure the pieces together. Make sure to pre-drill holes to prevent the wood from splitting.
For added durability and functionality, attach hinges to connect the shutters to the window frame. The number of hinges required will depend on the size and weight of your shutters. Additionally, if desired, install a latch or lock to keep the shutters securely closed.
5. Finishing Touches: Painting or Staining
Once the shutters are assembled, it's time to add the finishing touches. Painting or staining the shutters not only enhances their appearance but also protects the wood from moisture and UV damage. Choose a paint or stain color that complements your home's exterior.
Before applying the paint or stain, ensure the shutters are clean and free of dust. Use a paintbrush or roller to apply an even coat, following the manufacturer's instructions. Allow the shutters to dry completely before proceeding to the installation step.
6. Installing the Window Shutters
With the shutters fully constructed and finished, it's time to install them on your windows. Start by aligning the shutters with the window frame. Use screws to attach the hinges to the window frame securely.
Test the shutters to ensure they open and close smoothly. Adjust the hinges if necessary to achieve the desired functionality. Once you are satisfied with the installation, step back and admire your beautiful handmade window shutters.
7. Maintenance and Care
Proper maintenance is essential to keep your window shutters in optimal condition. Regularly inspect the shutters for any signs of damage or wear. Repair or replace any loose screws, hinges, or latch mechanisms.
Additionally, depending on the material and finish you chose, periodic cleaning may be required. Follow the manufacturer's instructions for cleaning and maintenance to prolong the lifespan of your window shutters.
8. Customization Options
Making your own window shutters allows for customization to suit your personal style and preferences. Here are a few customization options you can consider:
- Adding decorative cutouts or patterns to the shutter panels
- Installing louvers for adjustable light control
- Choosing a unique paint color or stain finish
- Opting for different types of wood or composite material
Feel free to get creative and make your window shutters truly one-of-a-kind.
9. Cost Savings and Sustainability
Making your own window shutters can be a cost-effective alternative to purchasing pre-made shutters. By sourcing the materials yourself and putting in the effort, you can save money on labor costs.
Additionally, if you choose sustainable materials such as reclaimed wood or eco-friendly composites, you can contribute to a greener and more environmentally friendly home.
10. Conclusion
By following these steps and putting in some time and effort, you can create beautiful and functional window shutters that perfectly complement your home's aesthetic. Making your own shutters allows you to customize every aspect and enjoy the satisfaction of a job well done. So, gather your tools, choose your materials, and embark on this rewarding DIY project to create stunning window shutters that will enhance your home for years to come.

